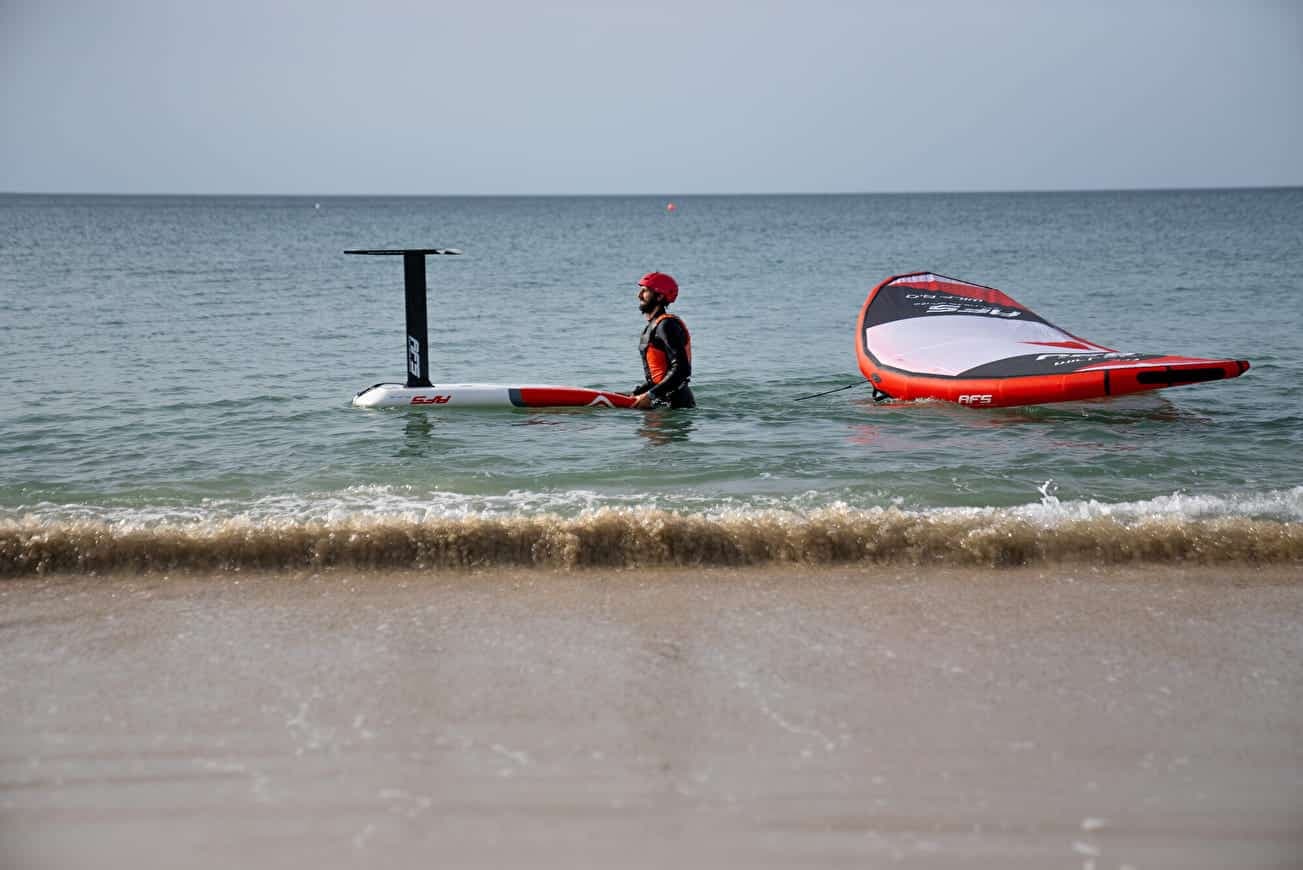
Before we get to some tips on how to best inflate your wing, let’s talk about the basics: what equipment do you need to wingfoil? Our new passion consists of a float, a foil and a sail (also known as a wing). Not forgetting the wing leash, the board leash and, for your own safety, a helmet, an impact vest and a neoprene suit.
And adjusting your equipment is, admittedly, less complicated than windsurfing, but if your wing is under-inflated or over-inflated, you risk ruining your session…

How is a wing made up?
If you’re a wingfoil beginner, you’re probably wondering what a wing is made of. After all, it’s made in a number of precise stages, and technical materials are used to ensure its performance and durability.
In wing foil, most wings are made up of two inflatable bladders. The first bladder is the leading edge, and is also the largest. The second is the central batten.
In wing foil, most wings are made up of two inflatable bladders. The first bladder is the leading edge, and is also the largest. The second is the central batten.
Add handles or a wishbone to hold the wing.
And for a better understanding of the general condition of a wingfoil sail, also remember the trailing edge (or chute), which is the rear. Also remember the ears, which are the two ends of the leading edge.
Then there’s the one pump that connects the two bladders on most wings. This is a small rubber tube with a locking clip. This ensures that you always have one of the two bladders inflated when sailing, so that your wing can float in the event of a problem.
Some wings also feature a pvc window. This is to avoid danger to the rider and to provide visibility before making a transition.
Finally, on some wings, there are even tiny battens on the leech to give them a better profile and a certain stiffness.
The advantage of wingfoiling is that it’s much quicker than most other water sports to adjust your glider.

What accessory should I use to inflate my wing?
To put air into the two bladders, the rider simply needs a hand pump and hose with the right nozzle. Some brands have their own pump. However, if you change wing and the tip is different, adapters are readily available in shops and on the Internet.
There are three types of pumps: single action, double action (twice as fast), and electric for those in a hurry.

How can I check my wing pressure?
The bladders are placed inside the fabric and have an inflation (and deflation) valve on the largest one. Depending on the sail, there is one valve per bladder, as is the case with the AFS Diamond V2. Here, we will gradually increase the pressure in the leading edge first in order to maintain the hollow and achieve a more stable profile. Then we will move on to the center batten. Let the air fill and wait a few seconds for the bladder(s) to inflate slowly at the very beginning. On the pump, you can easily measure the pressure, which is identified in psi (pounds per square inch). And since today’s brands help you as much as possible, you can read on your wing what the correct pressure is for each model and each wing surface area. The larger the wing, the lower the psi reading on your pump’s pressure gauge. Vice versa, the smaller the wing, the higher the psi reading. Example (not to be reproduced on all wings, read what is indicated on yours)
Don’t confuse psi and bar. Of course, we can inflate our wing ½ psi above or below the manufacturer’s recommendation, depending on weather conditions. The lighter the wind, the more the wing needs to be inflated, so you’ll end up with a stiff bladder. Conversely, if the wind is blowing hard that day, inflate it just a tiny bit less. To make sure you’ve got a wing filled with enough air, feel around with your fingers on both bladders and on each ear of the sail. It’s reassuring!

What mistakes should I avoid when inflating my wing?
Here are a few instructions to make your wing last as long as possible.
First of all, you need to choose an uncluttered surface: make sure it’s clean, with no bits of glass or thorns on the ground. It’s sometimes better to inflate your wing on asphalt or sand than on grass, where you can’t see everything on the ground. This may save you from puncturing the bladders.
Don’t neglect the valve(s): check that they’re closed properly after inflation to avoid leaks.
On the other hand, sometimes we can’t wait to get out on the water. Maybe it’s been a long time since we’ve had a good session on the water, either because of lack of time or lack of wind. In that case, you may be over or under-inflating your wing. Here are some mistakes to avoid:
- Excessive pressure: if your wing is over-inflated, it may explode on impact or on contact with the ground. Especially at high atmospheric pressure. Or simply without touching anything. That’s why it’s so important to inflate gently, because sometimes you can get a hernia (knot) in the bladder if you’ve folded your wing incorrectly beforehand.
- insufficient pressure: Too little pressure deforms the sail, affecting stability and performance, especially with acceleration on the water.
How do I maintain my wing?
We sometimes tend to pack up our gear quickly after a good wing foil session. Because we’re happy to have ridden well and the aperitif is waiting to celebrate! But have you ever thought of pampering your wing when you don’t need it, especially for several days or even weeks?
To prolong the life of your wing, it’s great if you can rinse it in fresh water (for sea cruising). But in some regions, especially in summer, it’s important not to waste drinking water. However, we can still take care of our wingfoil gear. Salt and especially sand are frankly not good for fabrics… it damages them.
Take a few minutes to dry your wing. It’s a good idea to lay it flat (not suspended, to avoid a hernia if the bladder moves unintentionally), with no obstacles around it. And tied to something to keep it from flying away (you have a leash). As soon as it’s dry (or nearly dry), shake it gently to remove any sand or seaweed, and put it back in its bag straight away. When it’s no longer wet but has been in the sun too long, it’s not so good either, because of the UV rays. This applies mainly to inflatable bladders. Similarly, a soaked and folded wing can gradually damage the materials of which it is made. All the more so as there may be harmful products in the sea, ocean or even a lake. At worst, you can dry your wing at home! Remember to store it high up, in a closed bag (if in a cellar), in a cool, dry place.

How do I repair my wing?
Although the brands have worked hard in recent years to ensure that we can sail… and enjoy some very, very nice wing foil sessions, a wing is nevertheless more fragile than a stand-up paddle or windsurfing equipment. Starting with the bladders, but also the various sail fabrics. Or the valves.
Almost all wing bags contain a small repair kit. As long as the impact or tear is minor, you can repair it yourself if you can. However, there are repairers, sail makers, who are professionals and to whom you can entrust your equipment. It usually takes about ten days for your wing to be ready to fly again. Board shops can also act as intermediaries.
As for repairing the bladder yourself, it is entirely possible to order a brand new one from a professional. You can then change it yourself or with the help of a second person.
Wing foil sailing allows you to generate speed so you can then take off using your foil and stay airborne. That’s why you should never neglect it, especially once it’s inflated! For best results, all you have to do is pamper it for your next crazy sessions… in the best possible conditions!