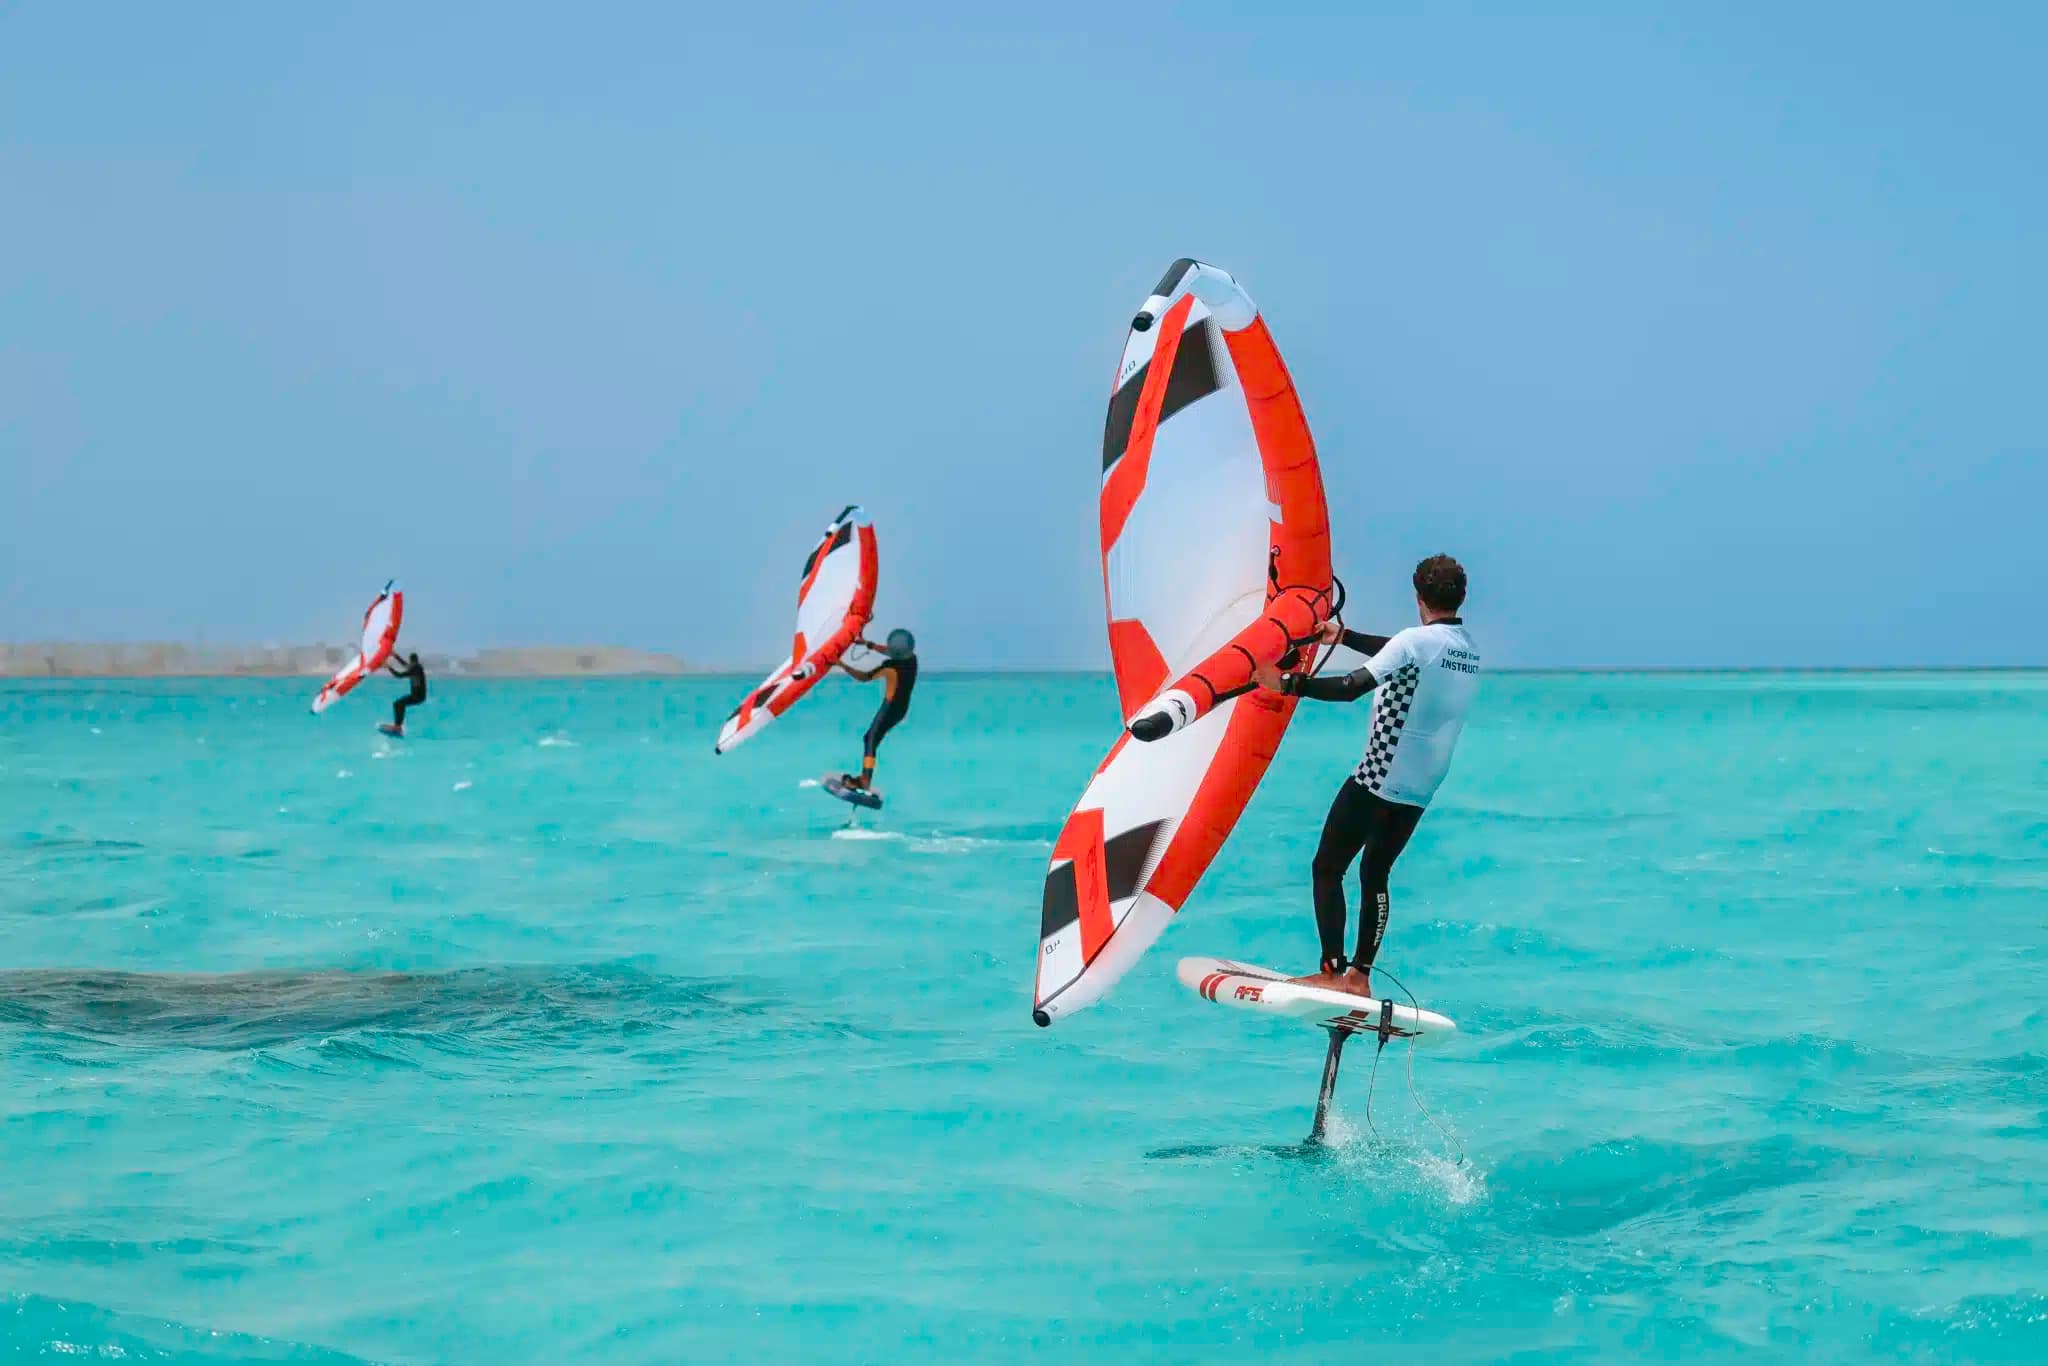
Wing foiling is a new board sport whose first sensations take a little longer than those of windsurfing or kitesurfing. However, once you’ve mastered the waterstart, you’ll progress quickly and safely.
But what is the purpose of the waterstart in wingfoiling? Also known as takeoff, it allows you to lift off the surface of the water and take flight. All that’s left to do is glide!

What are the wing foil waterstart techniques?
The waterstart is an essential step for getting started with wingfoiling and taking your first flights. And our sail is a valuable asset for this maneuver…
There are several waterstart techniques for optimizing your takeoff on the board. The most common is to get on the board on your knees. For riders who are still learning, use wing equipment that is suited to your level: choose a board that is about 35-40 liters larger than your weight in order to be as stable as possible. The foil is also very important: choose a mast around 75 cm and a front wing of around 1700 cm². Finally, make sure you have enough power in the sail (wing).
The second technique requires more experience. It involves letting your float sink on a board with a volume of less than 40 liters.
Basic waterstart
Whether you’re a beginner or not, the most common wingfoil take-off is to sit on your board and then gradually stand up. And finally take off. Here’s how it works.
- Stabilizing the board: When kneeling, it is essential to keep your board sideways to the wind (perpendicular to the wind). To remain stable on the board in this position, start by leaning on the sail with your elbows. Then, with the handles or wishbone in your hands, lift the wing and hold it slightly above your head, facing you (it should not touch the water).
- Gaining speed: While seated, your legs should be slightly apart and positioned towards the center of the board for better balance, facing the nose of the board. The rider must ensure that they have sufficient speed to generate traction, then lift. To do this, gently trim your kite (pull on the handles or the wishbone) using the power of the wind to inflate it. Keep your arms more or less straight. It is necessary to achieve this acceleration while remaining stable on the board. Once the board is launched and stable, you can move from a sitting to a standing position. Start by lifting your front foot, as this will be easier. Keep your other knee in contact with the board. At this stage, the kite should be high enough not to touch the water, but low enough to maintain good traction.
- Distribute your weight to maintain balance: When you place your second foot on the board (back foot), make sure to distribute your weight evenly with your first foot. Be careful not to put too much pressure on the back. The movement must be fluid and well coordinated to stabilize the climb. Keep your legs bent so that your center of gravity does not suddenly become too high. This technique helps us maintain sufficient stability to avoid falling. And if there are markers on your board, use them! These could be footstrap inserts, a mark on the pad, or even a different color on the deck. If there are inserts, consider that each foot should be placed just in front of each footstrap location.
- Feel the elements: Your board may be facing into the wind, or your kite may be going into the wind. This is not the right time to stand up. The board needs to be at 90 degrees to the wind (crosswind = sidewind), or even at a slightly open angle (downwind). Using the handles or boom to control and steer the sail’s power, we need to stabilize our float. This is done either by gently edging the sail, or by slightly easing it.
- Manage power and speed: The faster you go, the better it is for taking off. Again, don’t stand too far forward or too far back on the board. Spread your feet slightly apart, look ahead, pull the wing gradually without being too abrupt, stand up straight… And nature will do the rest. Yes, you’re flying!
- Pumping: this technique can be crucial in helping us to perform a successful waterstart. It allows us to generate more speed to leave the surface of the water. Pumping in half circles with your sail while jerking your back foot is sometimes essential for taking off on a wingfoil.
As you can see, in wing foiling, the sail plays an essential role in the water start. Not only does it stabilize the board, but it also generates speed and provides the power needed to get out of the water. And finally, take flight. Mastering the wing depends on precise coordination between wind management and board movement.
The sunken waterstart
On a float of less than 40 liters, it’s perfectly possible to perform a water start with the board underwater (before take-off). All you have to do is straighten up in two seconds. This favors the straddle position (as if you were sitting on a horse), so you don’t have to be on your knees.
But before you attempt anything, you need not only to have a good level of wingfoil, but also to master pumping and to be well sheeted during your session. You’ll also need a steady wind and sufficient water depth.
So what’s the technique? Sit on the back of the board, press down on the nose with your front hand just before standing up. Use the wing as a buoy, supporting yourself with your back arm resting on it. Lift the wing in a split second and hop up into a standing position. The nose of the board should be facing the surface of the water, so the board is tilted. The back of the board is tilted toward the bottom of the water.
Make sure you distribute your weight evenly so that the float plate is well balanced. If you have footstraps, put your front foot in first. Keep pressing down with your back foot to sink your board deep into the water. It should be tilted from bottom to top (almost vertical underwater).
Finally, pump up very quickly to get out of the water and into the air.
Our sail is a huge help when taking off with a wing… But the foil is also essential…

How to use your foil for waterstarting?
To make the water start easier, the foil can be a valuable ally. Here are a few tips on how to use it to your advantage:
- Initial positioning: Stand above the foil (more specifically, the foil plate), with one foot slightly behind and the other toward the center of the board. The board should remain flat on the water. Try to keep it from sinking as much as possible. If it does sink, readjust your positioning. For greater stability when you first start wingfoiling, angle the board very slightly into the wind.
- Use the lift of the foil: When waterstarting, focus on your balance. As soon as you pick up speed, pump the foil! It’s a bit like inflating a mattress with a foot pump: that is, short, sharp strokes with your back leg, without lifting your foot or heel, which is needed here. Lighten your weight with your upper body. This allows you to gain speed and get out of the water quickly. This is a secret often overlooked by beginners, but vital for success. Of course, using your foil to help with the water start means simultaneously using your sail (by making jerky but regular half-circles).

What are the mistakes to avoid when waterstarting?
There are certain mistakes to be avoided when water starting, but which are the most common?
- Wrong choice of equipment: Many wingfoil beginners opt for a board that is too small or sometimes much too large. Unsuitable for their level. A board with too much volume and width will require more effort to take off, while a board with too little volume or a narrow float will make it more difficult to balance before take-off. If you have the opportunity to test equipment at an event or through a shop, take advantage of it and try everything you can! Also, at the end of a sailing school course, don’t hesitate to ask your instructor for advice. They will be able to recommend suitable models before you buy. The same goes for the foil: don’t choose one with a front wing smaller than 1700 cm² and a mast that is too long (more than 75 cm). As for the sail, it’s better to be a little overpowered to have more power and sail with a minimum of 15 knots of wind (or even 17-18) to make takeoff easier.
- Wrong foil setting: A beginner should set his foil mast forward. Especially if it’s a very strong sailor. The higher your level, the more you can center it, or even move it all the way back for better maneuverability.
- Wing foil spot too choppy: Sail on flat or relatively calm water. This will give you greater stability… and make you feel more at ease before you make your water start.
- Wrong positioning: A board that’s wrongly positioned in relation to the wind can make it difficult to take off. Position yourself further back and use the force of the wind to lift you up gradually. The wind should be felt on one cheek and one cheek only (the side from which the wind is coming). If it’s at your back, you’re going wide and your wing is too far forward: when you try to fly, you risk being torn forward. Bring your wing back gradually to restore balance.
- Holding the wing too low, touching the water: Keep your arms high in the air, slightly above your face.
- Wanting to fly too early: Try to get some speed before you take off and then fly. Otherwise the board will pitch up and you’ll fall backwards for sure!
- Neglecting safety: Helmets and impact vests are essential to avoid injury. Water start is safer with these protections. Particularly in view of the frequent falls that occur when learning to wingfoil.
Mastering the wing foil water start is the key to getting up quickly and having fun on the water! By learning to conserve your energy before takeoff, you’ll quickly feel comfortable and be able to enjoy your sessions to the fullest. So don’t hesitate—put our tips into practice and become the king or queen of the spot!