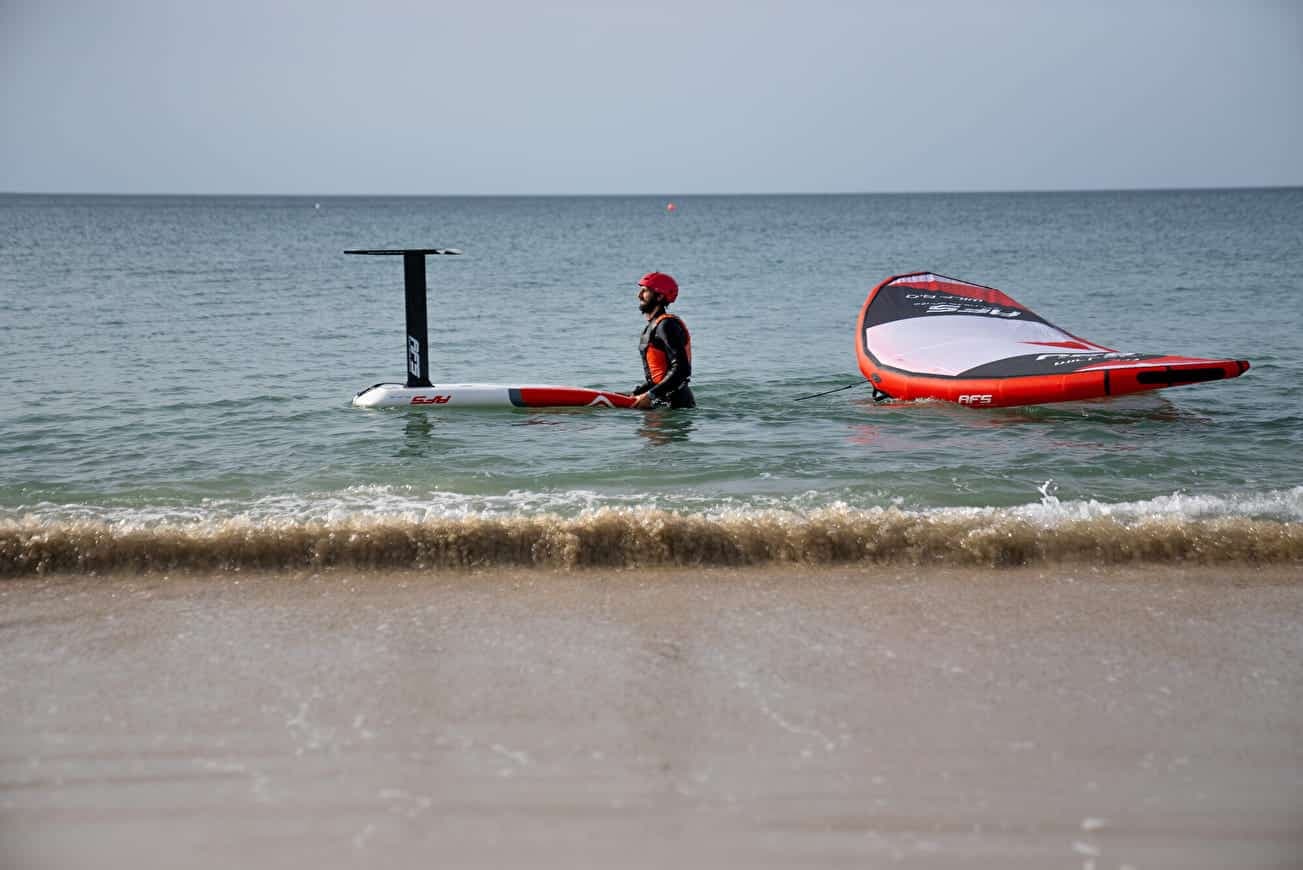
Your wingfoil session was awesome. You sailed well and made good progress… But wait—your wing got damaged? Don’t panic! Here are a few tips for repairing minor damage and extending the life of your wing. You’ll be back out on the water in no time.
Torn spinnaker, punctured bladder, valve in poor condition. Everything can be changed or restored.

How do I repair a tear in my wingfoil?
A little accident on your

What do you need to refurbish your torn sail?
- One or more patches: these should be self-adhesive in dacron or nylon, slightly larger than the tear.
- A pair of scissors: to cut them to size.
- A clean, damp cloth: to clean the area to be repaired. No traces of salt, dust or grains of sand should remain.
- A second clean, dry cloth: to dry the part of the wing you’ve just cleaned.
What are the repair steps?
- Choosing the location for the operation: position yourself in a clean, dry, wind-free place on a flat surface (wooden floor or tile).
- Preparation: carefully clean and degrease the edges of the torn part on both sides of the canopy (the spinnaker).
- Apply the patches: place one on the lesion and one on each side of the affected area. Make sure they are centered. Press firmly on the two stickers with rounded edges. This will ensure good adhesion and prevent them from coming off easily.
- Reinforcement (optional): for better reinforcement, if you know how to sew or if someone close to you knows how to sew, this is even better than gluing (but more delicate).
Occasionally, some
Can the bladder be repaired too?
How do I repair or replace my wing flange?
It may also need to be sealed, either because of visible damage or signs of wear. However, this type of repair requires a little more expertise.
Although it is possible to repair a small leak yourself, replacing the entire bladder is generally recommended to ensure the safety and performance of your wing.
Repairing the wing flange
It’s much the same repair procedure as the canopy. However, like a bicycle inner tube, there are a few steps to take into account:
1. You must remove the tire from the wheel, which will be deflated at this point.
2. Re-inflate the bare bladder.
3. Run it through the water to see where the leak is. This can be in a bathtub or a very large basin, but that’s not really environmentally friendly. The easiest way to do this is to sprinkle a bit of washing-up liquid on the pudding. As soon as it bubbles, you’ve located the leak.
4. Clean and then remove moisture (mainly from the impacted area).
5. Stick the small self-adhesive patch made of the same material as the tube onto the damaged area (a type of latex). Alternatively, Blenderm can be used, but it may not last very long (you should find what you need in your sailing bag, or you can buy it at a surf shop).
Changing the bladder is a more complex operation requiring a certain amount of know-how. If you’re not sure, it’s best to leave it to a professional.
Changing a wing flange
1. Dismantling: the sail must be completely deflated. You’ll need a very large cord or piece of rigid sail. Or kite lines if you have them.
2. Removal: Carefully remove the old bladder from the canopy, i.e., the wing, after attaching the small cord to the valve. Then pull on the other end of the bladder to be replaced.
3. Inserting the new tube: carefully insert it into the canopy, following the path of the old one. You can sprinkle the new one with talcum powder before embedding it in the canopy. This will help it slide in more easily.
4. Reassembly and re-inflation: reinstall the valve and inflate your wing to the recommended pressure. This is to check that everything is in order.
To help you understand better, you can watch this video tutorial.
Where can I find materials to repair my wing?
When you need to refurbish your wingfoil equipment, it’s essential to find the right materials and the right addresses.
Here are a few tips:
- Surf shops: specialist water sports stores (online or physical) are a great place to find what you need. They usually carry a range of products adapted to different types of damage, such as self-adhesive patches, special fabric glue or cord.
- Sailmakers: repair shops specializing in water sports and sailmakers will bring your sails back to life using the most suitable materials. They will often use the same fabric color and custom-made battens. Don’t forget to ask for a quote first.
- Wingfoil brands: contact the after-sales service of your equipment brand directly if you didn’t buy it a long time ago. They will be able to tell you which retailers are authorized dealers or what parts you need. Sometimes, brands also sell the famous “tool kits” needed for wingfoil equipment.
- Specialized websites: many websites offer wingfoil repair kits. Some even have tutorials to guide you through the repairs.

What are the recommendations for maintaining my wing foil?
Proper care of your wings will extend their life and give you longer use
and endless sessions. Here are a few tips:
- Rinsing with fresh water: after each session (or almost), you can rinse your kite with fresh water to remove salt and, more importantly, sand (and sunscreen residue).
- Shade drying: Do not leave it to dry for long periods on the beach in direct sunlight, as UV rays can damage the fabric. Above all, never hang it up to dry, as this can cause a hernia on the bladder (knot). It must be dried flat.
- Storage and protection: store it in its cover, then in a dry place away from direct sunlight.
- Regular inspection: check condition regularly, especially seams and bladders.
- Quick repairs: fix minor damage as soon as it appears to prevent it from getting worse.
- Protect it from shocks: during transport and storage, avoid impacts that could damage it. The same applies when you are sailing.
If you’re still unsure about how to repair your wingfoil, don’t hesitate to ask your questions in the AFS chat, we’ll be happy to help.